InnoTrans 2016: Fraunhofer IPM presents novel contact wire inspection system

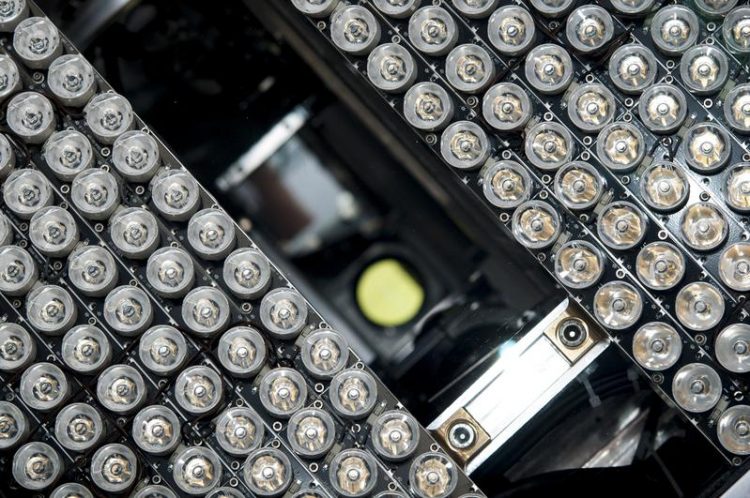
The Contact Wire Inspection System CIS combines a camera system for recording the degree of contact wire wear (illustrated) and a laser scanner for recording the contact wire position.
The Fraunhofer Institute for Physical Measurement Techniques IPM is showcasing a number of its laser- and camera-based railway measurement systems, including numerous advancements and additional features, at InnoTrans 2016. Taking center stage is the new Contact Wire Inspection System (CIS), which is the only one of its kind in the world and boasts an impressive ability to capture a comprehensive range of data. In one single measurement process, it determines both the position and degree of wear of as many as ten contact wires simultaneously, working contactlessly at speeds of up to 350 km/h. Fraunhofer IPM is also presenting its Clearance Profile Scanner (CPS) for measuring clearance profiles as well as a small and lightweight laser-based measurement system for use on unmanned aerial vehicles (UAV). All the measuring devices combine high-resolution laser scanners with rapid image processing.
Rapid detection of contact wire position and wear
The Contact Wire Inspection System (CIS) is mounted on the roof of an inspection car. It comprises Fraunhofer’s Wire Wear Monitoring System (WWS), Contact Wire Recording System (CRS), and, optionally, its Laser Pole Detection System (LPS). The CIS uses a laser scanner (CRS) to determine the position of the wires and a camera (WWS) to identify the level of wire wear. A processing unit inside the inspection train provides the operators on site with processed position data that has already compensated for the train’s roll, which is recorded separately. Additional features, such as the automatic cleaning of the measurement window, ensure that the apparatus operates reliably and requires little maintenance.
The residual thickness of contact wires with a round cross section is calculated from the width of their sliding surface. The CIS’s camera-based measuring unit records the sliding surface and uses this information to derive data about the degree of wear on the wires. At a speed of 100 km/h, a reading is taken every 13 mm. Due to its high measurement frequency and rapid data processing, the system is suitable for use at speeds of up to 350 km/h. The CIS features its own lighting unit, meaning it can be operated reliably at any time, including at night, in tunnels or under bridges.
Fraunhofer IPM has also significantly upgraded the laser-based measuring unit used to record contact wire position. Higher scan frequencies have improved the system’s precision, meaning that the measurement results are virtually no longer influenced by the speed of the train. In addition, the measurement range has been extended to 10 meters, while the sampling rate, in other words, the number of measuring points per scan, has been increased sixfold.
You can visit Fraunhofer IPM at InnoTrans 2016 in Berlin from September 20–23. Find us at the joint stand of the Fraunhofer Traffic and Transportation Alliance in Hall 23, Stand 206.
Media Contact
All latest news from the category: Trade Fair News
Newest articles

Can lab-grown neurons exhibit plasticity?
“Neurons that fire together, wire together” describes the neural plasticity seen in human brains, but neurons grown in a dish don’t seem to follow these rules. Neurons that are cultured…

Unlocking the journey of gold through magmatic fluids
By studying sulphur in magmatic fluids at extreme pressures and temperatures, a UNIGE team is revolutionising our understanding of gold transport and ore deposit formation. When one tectonic plate sinks…

3D concrete printing method that captures carbon dioxide
Scientists at Nanyang Technological University, Singapore (NTU Singapore) have developed a 3D concrete printing method that captures carbon, demonstrating a new pathway to reduce the environmental impact of the construction…


